


Latest Trending Articles and News

15 Family-Friendly Dog Breeds That Will Steal Your Heart
Looking for the perfect dog for your family is key. Think about kid-friendly dogs. From loving Golden Retrievers to playful Pugs, family-friendly dog breeds vary in size and shape. Each has a unique way of bringing happiness, friendship, and love…

10 Reasons Why Jennifer Aniston is Everyone’s Favorite Friend
From the charming Rachel Green on TV to the glitz of Hollywood, Jennifer Aniston has won hearts globally. We celebrate her life and the iconic roles that made her a cultural legend. Her career shines with optimism and a strong…

11 Secrets to Lasting Love: Habits of Truly Happy Couples
Learning to build healthy relationships is key to long-lasting partnerships. Happiness in a relationship comes from working on it every day. Happy couples know it’s about making certain relationship habits part of daily life. To keep love strong all year,…

11 Ways to Keep Your Money Working for You
Starting your journey to build wealth needs a smart plan to grow your finances. It’s crucial to use clever investment strategies. This way, your money won’t sit idle. With a good investment plan, you get the chance to enjoy growing…

10 States Leading the Charge for Progressive Ideals in the US
Explore the dynamic political scene of America where progressive states stand out. They are known for their innovative thinking and diverse communities. In US politics, some areas are known for their liberal policies. These policies reflect what the people want…
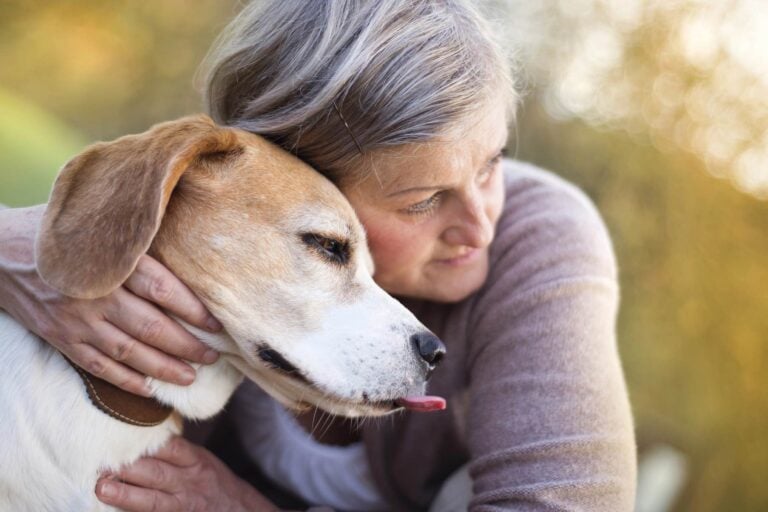
Faithful Friends: The 11 Best Dog Breeds for Seniors
Choosing the right dog in your golden years brings joy and easy care. Certain senior-friendly dog breeds meet the specific needs of older adults perfectly. These ideal pets for the elderly are low-maintenance dogs that still give lots of love….

11 Irresistible Habits of Women Who Turn Heads and Captivate Hearts
Being captivating is more than just looks. It’s about a special charisma that shines effortlessly. Women who draw attention possess a mix of charm and inviting habits. They move through the world with confidence, showing respect and openness. This leads…
