


Latest Trending Articles and News

Spare Time, Extra Cash: 15 Online Money-Making Ideas
Many Americans are facing higher costs and need more money. They’re looking into online income opportunities to make more. Whether through smart side hustles, digital earning strategies, or just wanting extra cash, there are many ways online. If you want…

10 Mind-Blowing Facts: Taylor Swift’s “The Tortured Poets Department” Shatters Records
In the ever-evolving landscape of the music industry, Taylor Swift has once again proven her unparalleled ability to captivate audiences and shatter records with her latest masterpiece, “The Tortured Poets Department.” Released on April 19, 2024, the album has taken…

13 Ways to Cancel Bills and Lower Your Debt
Starting your journey to financial freedom involves looking closely at your spending. We often don’t realize how small expenses add up. Cutting out these small, unnecessary costs can save a lot of money. We will look at ways to cut…

Pineapple Power: 17 Ways This Fruit Boosts Well-being
Exploring tropical fruit nutrition, we find the pineapple. It’s loved for both its sweet and tangy taste. Pineapples are also celebrated for their health benefits. Pineapples are a great source of vitamin C, boosting immune health. They help keep your…

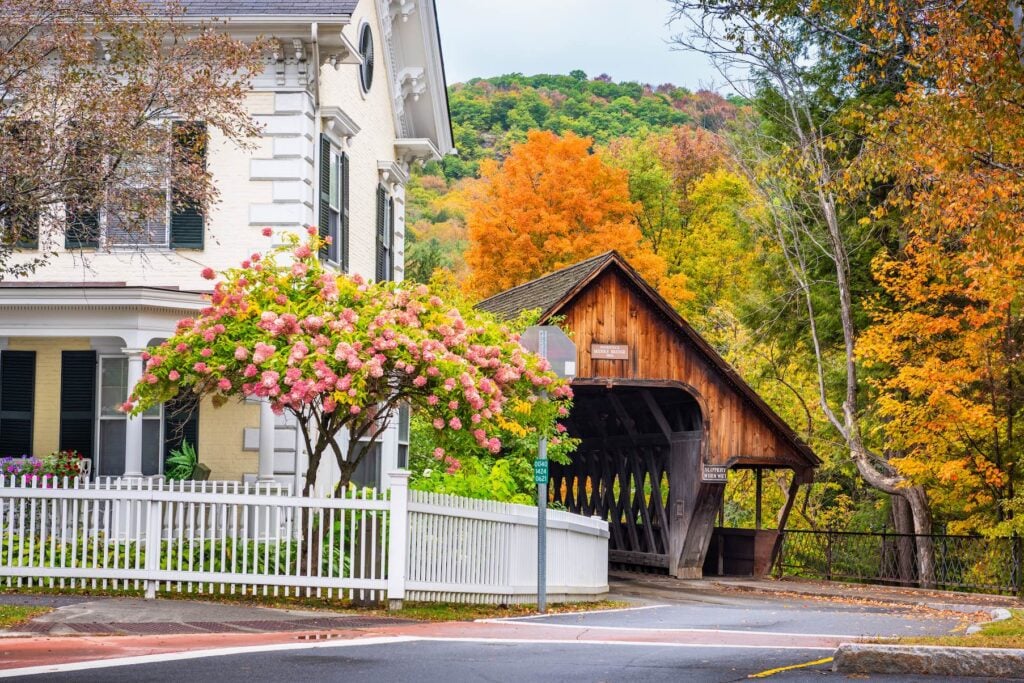
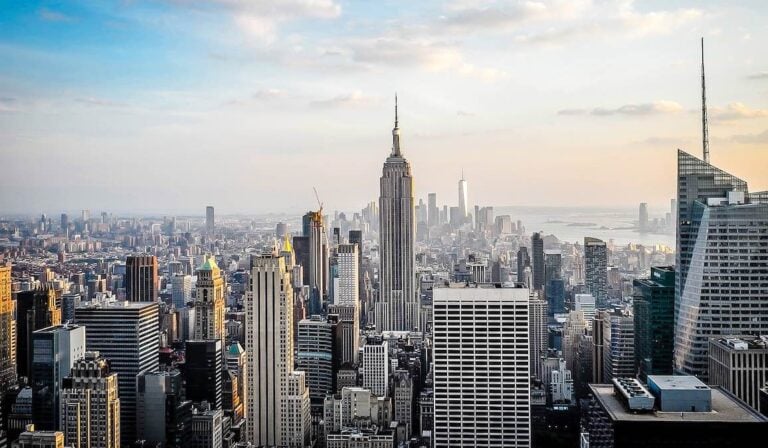
11 Money-Saving Hacks for Visiting New York City
Exploring the Big Apple’s endless attractions is exciting but can cost a lot. If you love budget travel, it’s crucial to know NYC savings strategies. With these affordable New York tips, you can see the city cheaply. You’ll learn about…

23 Celebrities that Dropped Out or Didn’t Attend College
We often think success comes with college degrees, especially in the glittery world of fame. But many top celebs proved that’s not always the case. They show that talent, hard work, and a bit of luck can lead to amazing…
10 States Leading the Charge for Progressive Ideals in the US
Explore the dynamic political scene of America where progressive states stand out. They are known for their innovative thinking and diverse communities. In US politics, some areas are known for their liberal policies. These policies reflect what the people want…
